Aerials
I did something a little different here. I would love to know what you think about them. The first one is full color and the second picture is has the color muted that is not the property and the sky. The first picture looks a lot better, but the point of the second one is obviously to show where the property is.
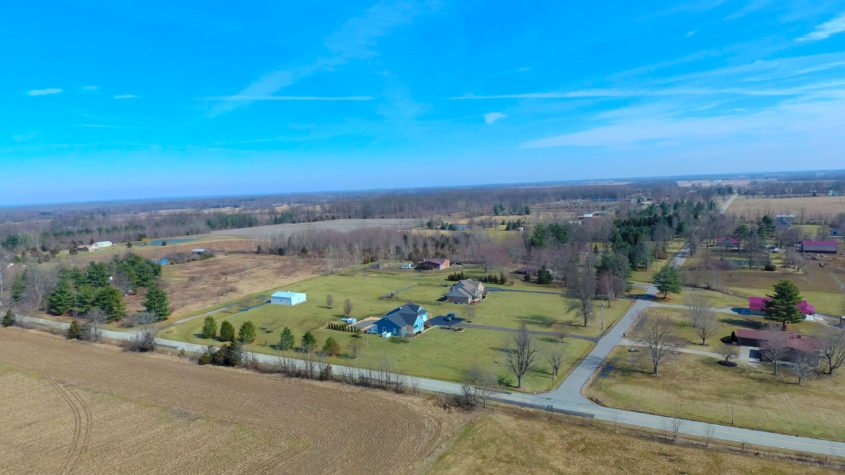

The thing I did differently than others I’ve seen is that the non-property colors are not completely black and white (de-saturated). Instead, I just brought everything down on the non-property land and up for the property.
I really like it. Looking at it on this screen, I might have brought the non property colors down a bit more.
That brings up a real sticking point in this work. All
All media creation suffers from this challenge today.
Interiors
As I said, the interiors caused me some real struggling. My traditional editing technique is the common layer masking that most, if not all real estate photographers use. We take what is called a bracket shot, which just means a series of exposures from dark to light. Then we blend them together using a photo editor. It’s simple, but it can be rather artistic.
This time was different.
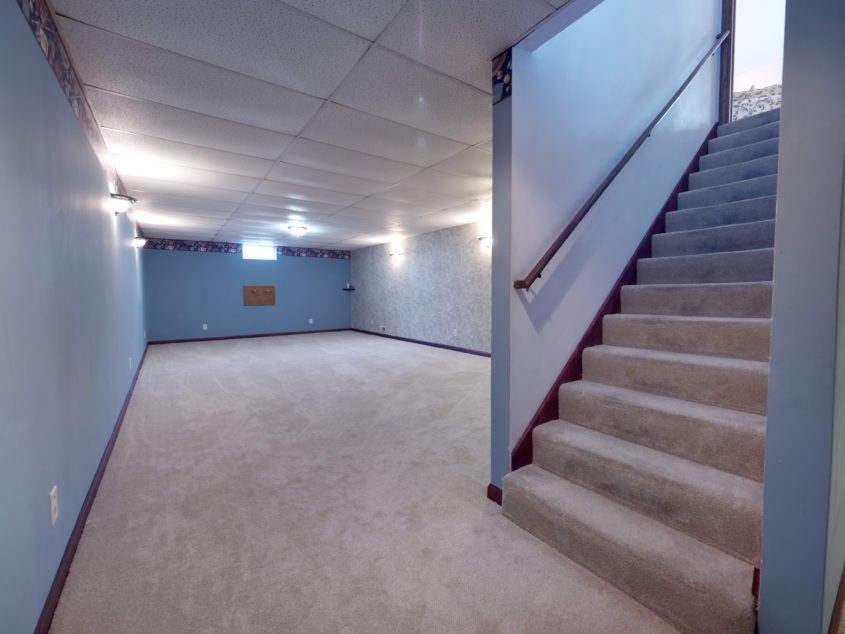
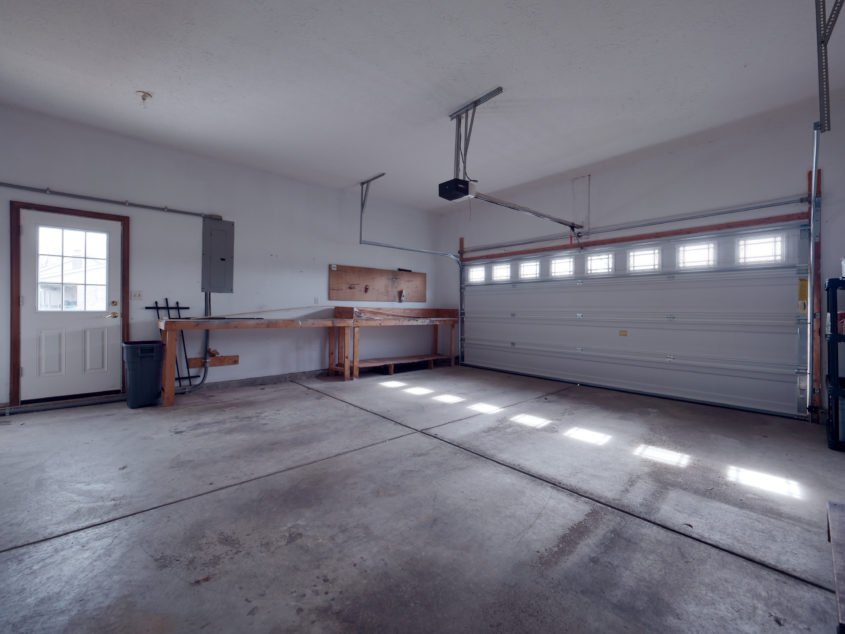
Lets start by looking at the basement.
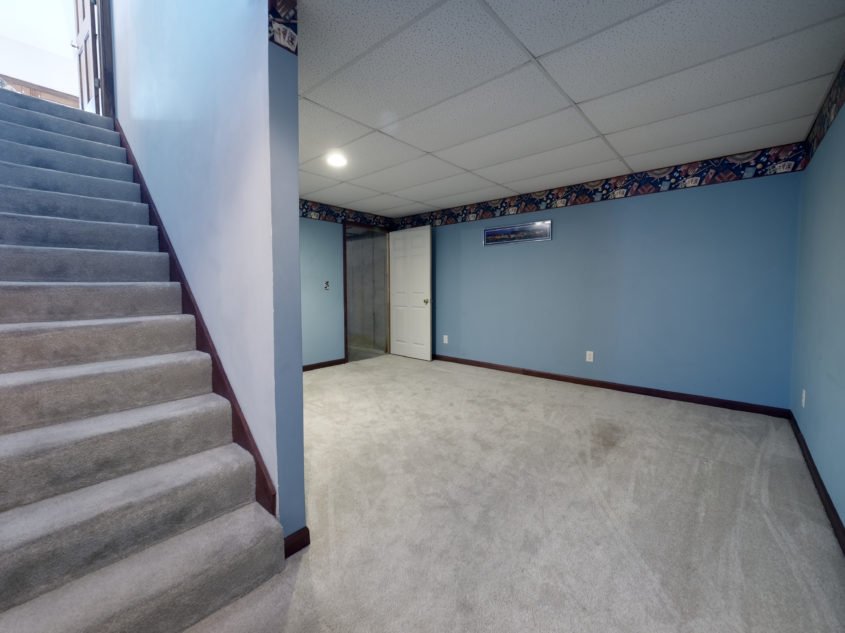
Then, if that doesn’t impress you, look at this…

It’s not a very impressive picture, unless we put it into perspective.
I’ll explain.
If you look at the first one, you will see that there
Seriously, have you ever seen a basement like this that looks so nice and even and bright? Especially without being over exposed and off color?
It’s a trick, I tell you. And I will tell you after we look at the upstairs.
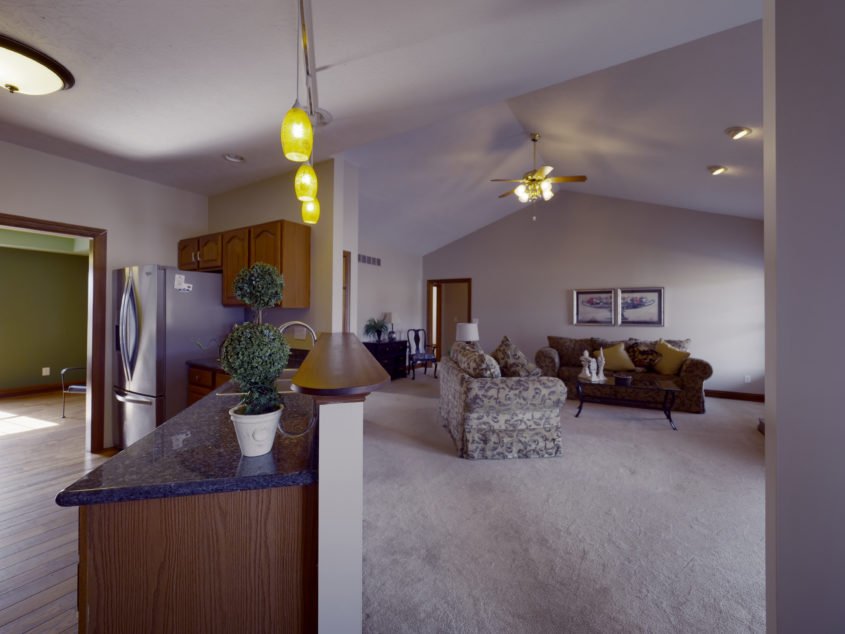
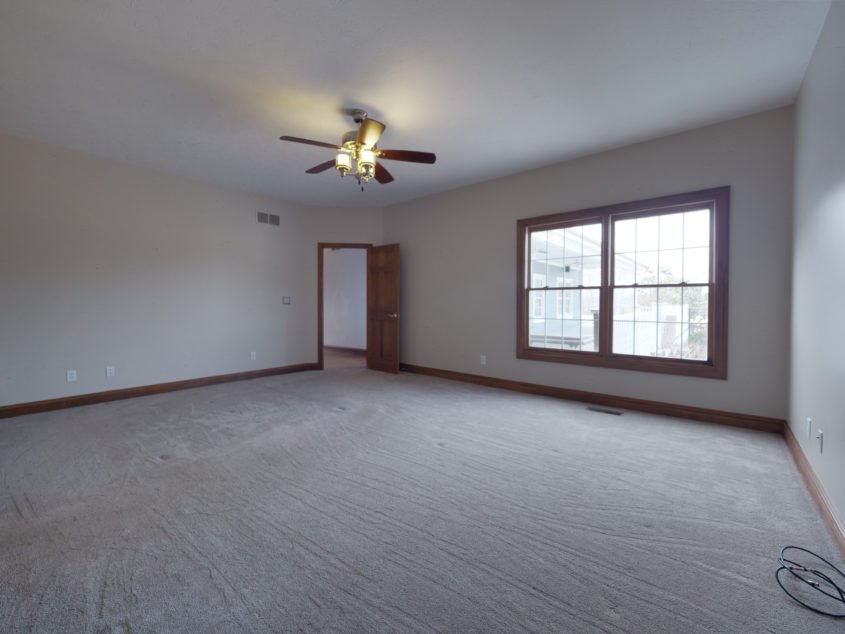
The upstairs
As I started shooting the upstairs, panic began to set in. None of the rooms matched in exposure or color. The light in every room was significantly different and so dark that I couldn’t even set the white balance using my color card. I just kept bracketing away and did my best. The whole time, I was wondering if there was any possibility to get decent results “in post”.
This picture is the best example of why I need lights. This is a really dark room. More than it just being a dark room, the light varies all over the place.
Let me step back. There is a reason I hadn’t bought lights.
Most of the pictures that I see of “high-end” real estate photography uses lots of lights and blending. It’s so overdone in most cases that the picture looks completely flat. Shadows and natural light produce the depth of a picture and I find it more pleasing than the overcooked stuff.
My goal is always to portray as accurately as I can with a very nuanced artistic license.
I’ll show you more. It’s a nice house.

Now I get to blather on about the geekery that saved the day. I’ll try to be as succinct and un-boring as possible.
Luckily, my Panasonic GH5 shoots in raw and
I think these pictures above are about as close to what you see in the home as possible. The pictures I took weren’t going to be that, no matter how many layers I blended.
And finally, a couple of normal real estate photos with “window pulls”.
These two pictures were done in combination of HDR and using the traditional “window pull” method.

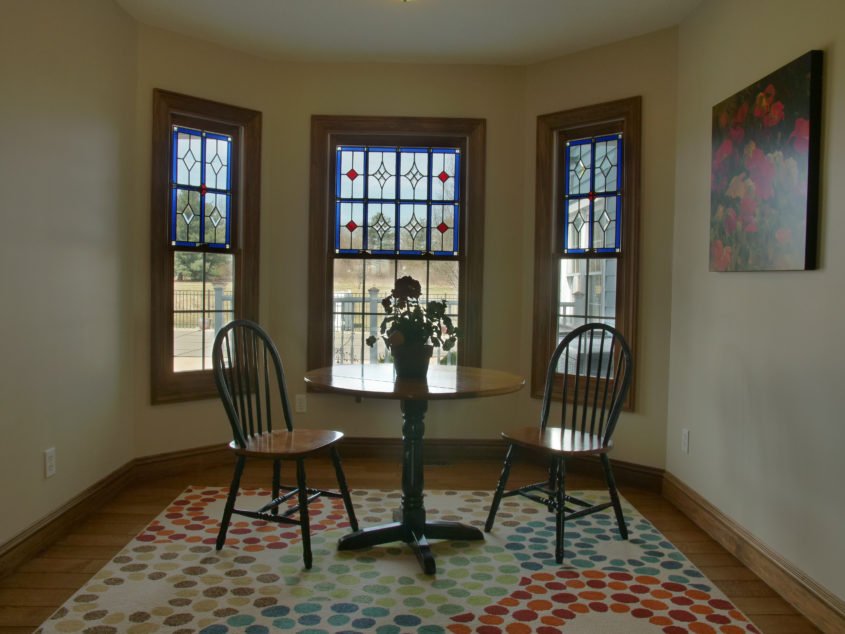
The owner wanted some shots showing the stained glass he proudly made for the home.
These are certainly not the best pictures, but its the best I could do with what I had.
I have lights now.